
IMPORTANT
Blimp Setup & Installation
The Blimpscreen and Blimpsign products should only be used in CALM conditions. Where there is the likelyhood of light winds - it is essential that the screens be set up with the side of the structure into the wind. Makes sure ALL tethers (12) are securely staked down using a substantial steel stake or tied off to land based objects (truck, fence, building etc)
Should stronger winds occur - immediately unplug the blower units - the screen will quickly deflate and avoid damage to the unit.
Keep public at least 20 ft away from the screen. Use tape and cones to codon off the area.
If winds over 5-7 mph start .. turn off blowers. Screen will settle to ground. Wait for winds to subside.
| IMPORTANT To assist in the final erection of the unit - it is useful to have available two extending "prod" poles (pool cleaning pole or extending paint roller pole) - a helpful prod as the towers go up will help greatly! PVC 1" pipe also works well - two 6 ft pieces and a joiner to make a 16ft pole will do the trick!**** 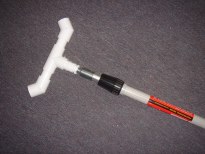 Included - our Prod adaptor! Fits on standard extending painters pole |
 |
Quick Start Inflation Tips!
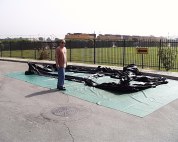
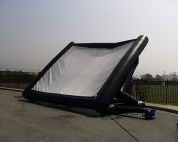
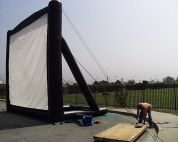
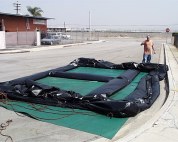
1. When screen is laid out, turn on blower and let frame inflate.
2. When frame is inflated and will not move any further on it's own, locate
two people, each with a 16' push pole with PVC cradle on the end, at either side of frame.
3. Lift top of frame so you can each get your poles underneath the top
pillar at the left and right vertical pillars
4. Lift in unison until frame is upright.
The following pictures describe the setup of the "Screen" style unit - setup is essentially the same (but easier) for the "Board" style units
Blimpscreen Setup
 |
 |
 |
 |
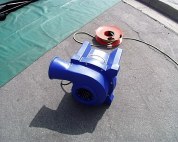
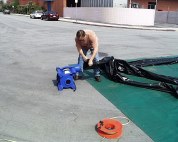
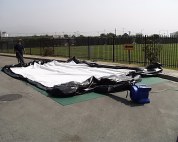
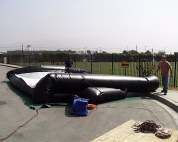
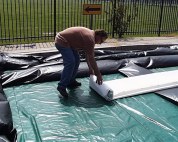
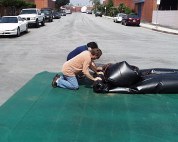
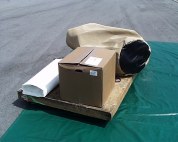
| Layout screen on a smooth surface or tarp - this will reduce abrasion from a hard surface. | Unpack blower and prepare a heavy duty extension cable with at least 15 amps of clean power at 115 volts 60Hz - do not run over 100 ft of extension cable unless it is higher than 12 gauge - power loss will result and blower will not run at full output! | Find the air input sleeve and secure the blower using the straps attached - when using a single blower unit (most units will only require one unit) tie up the second outlet securely. | Find the on/off switch (if supplied) on the unit. Turn on the unit for a few seconds. |
 |
 |
 |
 |
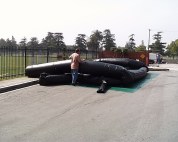
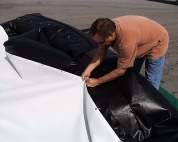
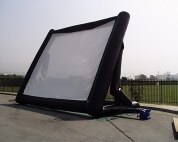
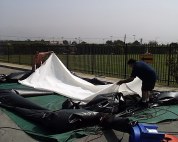
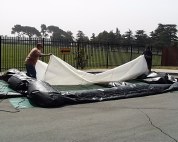
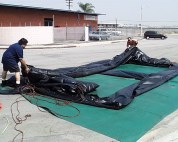
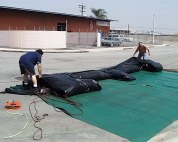
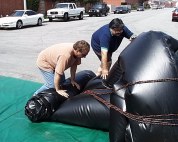
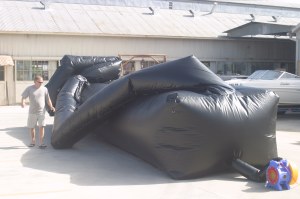
| As the structure inflates it will allow the unit to unfold and you will be able to see more clearly the layout. Untangle and pieces that are folded under. | Make sure the second air input sleeve is airtight. | Carefully unfold the screen surface - best to try and keep it off the ground. Establish how it lays out on the frame. | Attach the screen to the frame. It is sometimes easier to keep the frame slightly inflated to to this. |
 |
 |
 |
 |
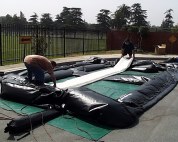
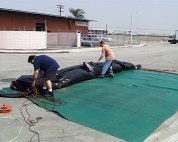
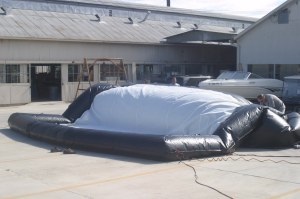
| Attach some guy ropes to the side attachment points - there are several points. The more the better for stability in light winds. | Turn on the blower! | ||
 |
 |
 |
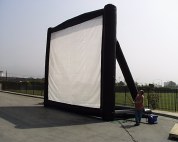 |
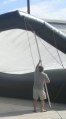
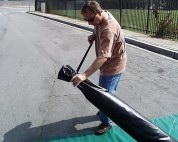
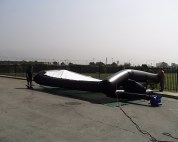
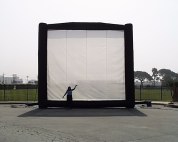
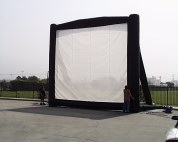
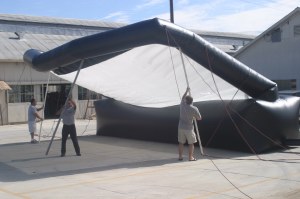
| Make sure the structure is free and clear of any ropes, itself or \other obstructions! | Usually at this point it will need a helping hand to "snap" the main support tubes into position - an extendable "Pool Equipment" pole is handy to assist! | The unit will quickly "pop" into final position. | |
 |
 |
 |
 |
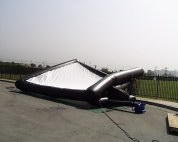
| Secure the Guy ropes to suitable "land-locked" items. | Done! | Deflating is pretty much the opposite procedure. Stand by as the blower is unplugged. | |
 |
 |
 |
 |
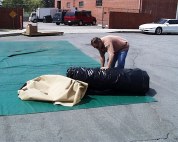
| Make sure the unit crumples backwards. | Un tie the blower and the second air input sleeve. | Remove the screen. | Carefully fold the screen. Rolling it loosely is best as tis will reduce creasing. However a good few hours in the sun irons them out. |
 |
 |
 |
 |
 |
 |
 |
 |
| The tighter the better if you are planning to put it back in the bag! | |||
 |
 |
 |
 |
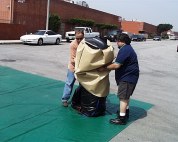
| Hog tie the frame! | Ready for home! |
Blimpboard Setup
 |
 |
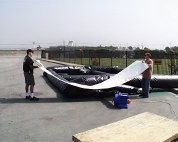
| If two blowers are supplied, make sure to start both blowers at the same time, otherwise one will start running backwards from pressure from the first unit and never attain its maximum speed! | After partial inflation - attach the screen. Prior to your first set up - attach the guy ropes to the three D rings on the vertical pillars. At this point it is useful to loosely stake down two of the guy ropes from the erection side. This will steady the screen once up and keep it vertical while the other tethers are installed. |
 |
 |
| Prod Poles in action! |
Make sure to already have your stakes secured so that the tether ropes can be quickly attached. After your first set up - mark your tie lengths and map your stake locations so that subsequent installations will go even quicker! |
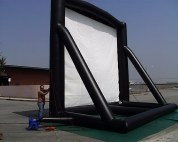
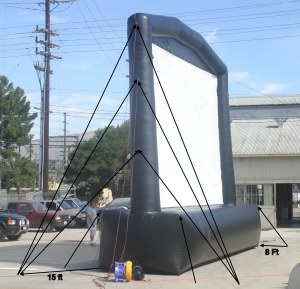
| Staking & Tie Downs There are three tether points along the vertical pillars - from these securely thether the ropes to heavy duty stakes or land based objects. Ideally locate a heavy duty steel stake about 15ft from each corner and tie the ends of the three guy ropes as shown. The base is secured from the corners by locating a stake approx 8ft from the corner. Depending on your sites you should carry a slection of stakes. Hard, dry, desert conditions require very heavy duty steel stakes. Conditioned, moist, lawn type surfaces usually require something less heavy duty. Remember to hang some caution tape on the guy ropes if you will be allowing the public close to this area. |
 |
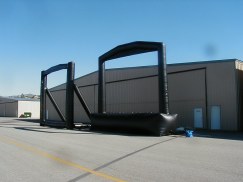
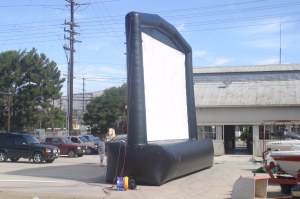
Two Blimp models - Blimpscreen (Left) and Blimpboard (Right)
Blimpscreen is designed for video or film projection.
Blimpboard is for Billboard advertising.
Contact Info
(818) 557 0903